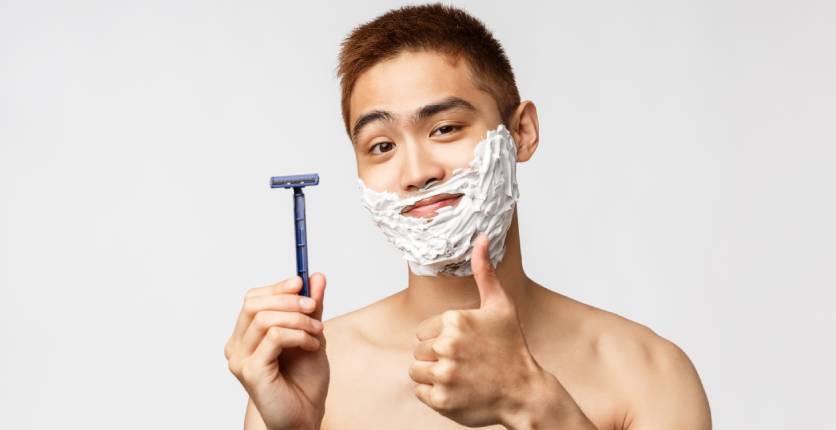
Some people think of shaving facial hair as a luxurious me-time, others dread it, while most don’t even think twice about this mundane task. While resorting to an electric shaver offers convenience, time-saved and safety from nicks and cuts, it does not give the intimate, clean, close-to-skin feel that a blade does in a wet shave. While we won’t try and convince you what’s better for you – you do your goatee, ’stache or whiskers your way – here are some basic steps for those who like living life on the razor’s edge.
(Note: For those with a full-on facial bush, you can try these steps out too, but it’s gonna be all on you if the result turns out less topiary, more misery. Go to the real professionals a.k.a the barbers if you can.)

Step 0: Fall In For The Skincare Regime, Recruit!
Consider this your everyday “prologue” (or pre pre-shave routine) to the actual ritual. It will help tremendously to keep your skin cleansed (twice daily, if possible), exfoliated (once a week’s fine; see here for the products to use) and moisturised (must do, always). Why? So that you can make sure your skin is clean and ready 24/7 for a shave anytime (more detritus on your face gets in the way of the blade), and your skin is somewhat healthy enough to deal with the cuts, bumps or irritations that may come with a bad shave.
Step 1: Prep Your Skin First, Cadet!
There are a few ways to get your skin ready. Take a hot shower or wash your face with warm water and gentle facial scrub or cleanser (use a washcloth or face brush along with, if you want to). Or, depending on the amount of time you have or how bothered you can be, wrap a hot hand or face towel (after soaking it in hot water and wringing the excess out – you can also add a few drops of essential oil like lavender or eucalyptus if you intend to treat yourself nice) around your face, and press it against your skin for 30 to 50 seconds, then wipe your face clean with it. Whatever your route of ablution, the purpose is to help you relax, get rid of dead skin cells, dirt and bacteria (that could cause infection, post-shave), open up your pores, soften and raise the hair follicles, and aid the smoother and effective application of whatever shaving product you use next for a closer shave.

Step 2: Prep Your Hair Next, Second Officer!
This is where your shaving or lathering product of choice comes in. But what to choose? Here’s a brief description of the general types available.
Foam – Easiest to buy and use: just spray and spread. It provides a minimal layer of protection for your skin, and some might dry or irritate the skin because of the foaming or chemical agents contained within.
Gel and cream – They have a longer shelf life, meaning you can keep them for prolonged use over time if you shave infrequently. Thicker and more lotion-like creams can also act as pre-shave conditioners for denser facial hair as well, plus they help to prevent your skin from irritation and inflammation, and can feel soothing when slathered on. Though most gels typically have chemicals that help the product lather, you can pick both gels and creams that have natural ingredients like aloe vera or jojoba that are more gentle, moisturising and less drying for skin, while taking note of the other ingredients used in case you are allergic to any of them.
Soap – Choose ones meant for shaving (but you can make do with common ones for washing up, too). The good thing is that you can add essential oils to them if you want to customise your shaving experience.
Oil – This is a pre-shave lubricator and not a lathering product, and is probably more useful for those with more facial hair or sensitive skin as it is designed to help protect you from nicks and irritation. Again, opt for those made with organic or plant-based oils as they are less likely to cause irritation, greasiness or clog pores. How best to use this: Apply on skin and facial hair, leave for a minute to hydrate the skin, soften the strands and create a slick surface. For those with forestry, we mean, thicker facial hair, you can gently massage in an upward motion to find out your hair patterns (this is important for the actual chop, we mean, shave) before adding on your shaving cream (they go best together).
Once you have decided on the product, slap, spread and even it out on your chin, neck and wherever else your facial hair extends to (not your eyebrows, or nosehair, or… you know what we mean). You can choose to use a shaving brush to aid in a circular, all-over application of your shaving cream or foam, or to lather up a richer foam if you use soap or gel. Go luxe with a badger hair or fox hair shaving brush that can also help soften and lift the hairs, and even open up the pores. Cheaper camel hair or horsehair ones can do the job as well, but skip the plastic-bristle types – they don’t last as long and scrape the skin like how a shredder does to tofu (okay, we exaggerate).

Step 3: Master The Stroke, First Mate!
Here are your shaving instructions, kept simple.
1) Take up your weapon of choice. If it is a disposable razor, try using a fresh, clean one to ensure you get the sharpest, smoothest cut. If it is a multi-blade one, just note that though it provides a finer shave, it might also increase the occurrence of razor burn, so be careful when brandishing one.
2) Stretch the skin taut for a smooth surface so the blade can glide over.
3) Don’t just hack away – that’s when the nicks happen. The basic technique is a slow, circular motion with an upward stroke to life the hairs up and away from the face. Apply minimal pressure and let the razor do what it’s meant for.
4) Remember about discovering your hair patterns when massaging in a shaving oil? It’s to help you figure out the direction of your hair growth. Go with the grain instead of against, so as to help minimise skin irritation, ingrown hairs, and/or razor cuts, bumps and burns.
5) Rinse face and razor with warm water, re-lather up, then pass the blade over your countenance again, this time against the grain for a closer shave and to catch any hairy stragglers. Run your fingers over your face or scrutinise your mug closely if you have a good mirror and great lighting to see if there’s stubble. Repeat the rinse, lather & shave sequence until you are satisfied with the state of your face or beard/goatee/moustache.

Step 4: Clean Up, Shape Up And Ship Out, Captain!
After the deed is done, next is all about making sure your skin’s all settled and comfy. Splash fresh, cold water on your face to clean away any debris, leftover shaving product or lather scum, and to close up your pores. After patting dry with a soft towel – don’t wipe roughly as your skin might be sensitive post-shave – use a gentle toner with soothing ingredients such as witch hazel or seaweed extracts to calm, disinfect and cleanse the skin further. Apply a serum (or even a face mask, if you want to “spa” it up), followed by an aftershave balm, lotion or moisturiser, and also a sunscreen or SPF product (see here for a curation of suncare items) if you are heading out, to hydrate and protect your now-bare face.
Two things to note: pat, not rub, your skincare in, to avoid irritating your skin; and do not use any post-shave products that contain alcohol as they not only might sting, but also might dry out your skin. Then you’re done… till the next day or two (facial hair can grow anywhere between 0.3mm to 0.5mm every 24 hours).
Featured image: Shutterstock


